Posted on

SATEL R&D: Savings and Safety for Autonomous Infra Construction

At Satel USA, we’re excited to share some groundbreaking developments from SATEL that we’re bringing to you. For SATEL, research is essential, fueling the evolution of communication networks and ensuring they remain at the forefront of innovation. Through their SWARM project, SATEL is developing advanced technology for autonomous construction equipment.

What is SWARM Project:

The Autonomous Low-Emission Swarm of Infra Construction Machinery (SWARM) project, in collaboration with the University of Oulu and industry partners, focuses on creating remote and autonomous control systems for heavy construction machinery. SATEL’s smart combination of technologies ensures that autonomous and unmanned machine groups can operate without interruption, continuously transmitting essential information like safety signals.

As SATEL’s Head of Technology Heikki Keränen says, “In the SWARM project, SATEL’s interest is to seamlessly connect the different roles of the machinery fleet by means of transmission technology.”

The SWARM project has received funding from NextGenerationEU, highlighting its importance and potential impact.

Why it Matters to You:

  • Increased Efficiency: Autonomous systems help reduce downtime and keep your projects running smoothly.
  • Improved Safety: Continuous, reliable connectivity means safety signals are always transmitted, minimizing risks on-site. Keränen highlights, “Through ongoing research, SATEL can develop more reliable, and secure high-performance connectivity solutions, meeting the ever-growing demands of the off-highway vehicle industry and application.”
  • Smooth Operations: Enhanced coordination between machines prevents collisions and unnecessary delays.

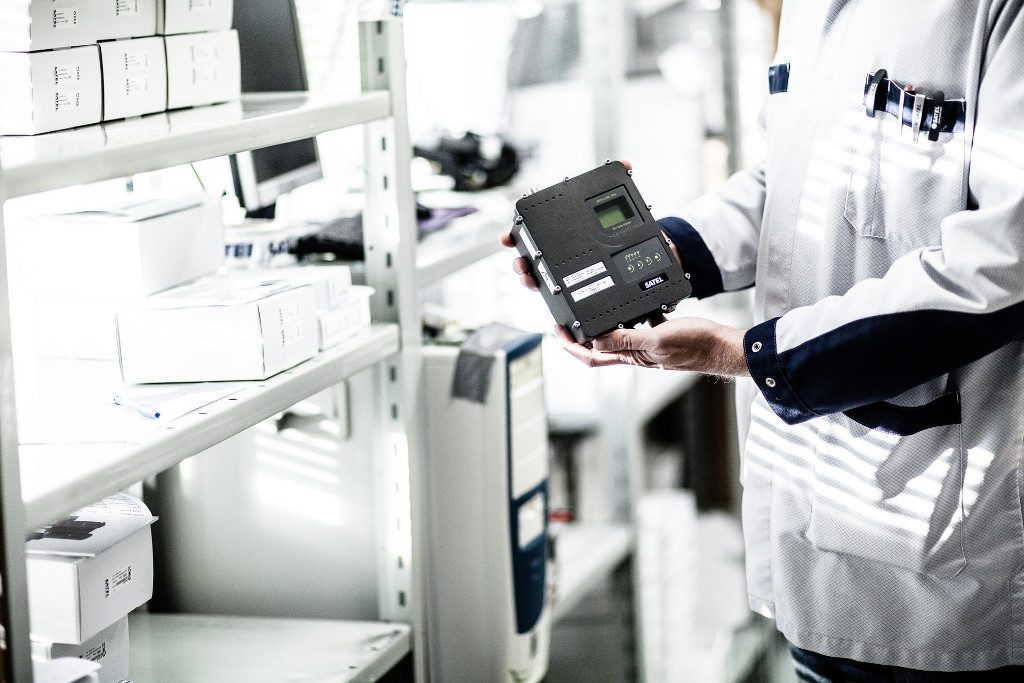
SATEL’s smart combination of Wi-Fi, Mesh networking, and 5G, along with their private radio technology, ensures your equipment operates flawlessly. This innovative approach not only makes your work easier but also enhances the overall efficiency of your projects.

At Satel USA, we’re proud to distribute these radio solutions to help you achieve more efficient and safer operations with less hassle. Let’s make your next project more productive together—check out some of our SATEL radios for your next mission-critical operations!

Posted on

SATEL Radio Modems: EASy+ vs PROOF-TR4+ Comparison Guide

1. Introduction

Robust and secure radio systems are critical to smooth coordination, remote monitoring, and real-time data transfer in machine control industries. To help professionals choose the best model for their needs, this article compares two of SATEL’s well-known models, the SATEL EASy+ and the PROOF-TR4+.

2. Understanding the Basics

FeatureSatel EASy+Satel Proof TR4+
Frequency Range403-473 MHz403-473 MHz
Channel Spacing12.5/20/25 kHz12.5/20/25 kHz
EncryptionAES128/AES256 (optional)AES128 (standard); AES256 (optional)
InterfacesRS-232, RS-422, RS-485RS-232 only
Power OutputUp to 1WUp to 1W
User InterfaceFront display, indicator lights, field-configurableRequires an external device for configuration. No LCD or indicator lights.
DurabilityIP 52 ratings prevents dust and debris, should be kept away from water and liquids.IP69K rated for extreme dust and water protection
Connector TypeD-15 female for data and power.Deutsch 6 pin interface connector
ApplicationsIdeal for short to medium range transmission, high-quality receiver for long rangeIdeal for short to medium range transmission, high-quality receiver for long range
Suited for extreme environments, like smart farming, machine control, marine applications

3. Comparing Specs

  • Frequency Range and Power: Both radios cover the same frequency range with equal power output, high quality receiver, and same protocols, ensuring robust performance.
  • Interface and Programming: The EASy+ is user-friendly with its front-panel controls, while the PROOF-TR4+ requires laptop setup for adjustments.
  • Durability and Environmental Resistance: The PROOF-TR4+ stands out with its IP69K rating, ideal for tough environments; the EASy+, with less stringent protection, is suitable for indoor installations such as a cabinet or machine or tractor cab. 

4. Field Performance

Both the Satel EASy+ and Satel EASy Proof TR4+ provide reliable long-range connectivity and are energy-efficient, ensuring extended operational times with minimal recharges, ideal for remote locations.

5. Breaking Down Costs

Choosing between the SATEL EASy+ and the PROOF-TR4+ often boils down to system compatibility and minimizing extra expenses. While both modems serve similar applications, the PROOF-TR4+ costs more due to its advanced features and specific integration requirements.

6. Conclusion

Do you prefer a simple device that is easy to program in the field? The EASy+ is your best option and is also more cost effective. If you need extreme durability and have a cable harness that already uses a Deutsch connector for a drop-in set up and you have the resources to program with an external device, the EASy Proof-TR4+ has you covered.

If you aren’t sure, give us a call and we can walk you through the different options and help you make an informed decision.

Posted on

Troubleshooting SATEL Radios

The most frequent cause of Satel Radio issues is a mismatch in settings between the transmitting radio and the receiving radio. The key settings that must be the same on both radios are:

  • Frequency
  • Channel Spacing
  • Radio Compatibility/Protocol
  • Error Correction (FEC)

Note: On other Satel-compatible radios, or via 3rd party interfaces (such as Leica or Carlson Software), these terms may have different names. Other settings, such as Error Checking are uncommonly used.

Troubleshooting Steps

Base Radio

  1. Start with the base/transmitting radio. The “TD” light should be blinking. If it isn’t, that means the transmitting radio is not receiving data via its serial port. Check the settings on the attached device to ensure it is correctly sending data via the serial link.
  2. Note down the 4 above settings using the radio screen and buttons. The settings are found in the following menus:
    1. Frequency: “Radio frequency” menu (“TX & RX freq”)
    2. Channel Spacing: “Radio frequency” menu (“Ch Spacing”)
    3. Radio Compatibility: “Radio settings” menu (“Compatibility”)
    4. Error Correction/FEC: “Additional” menu (“Error corr.”)

Remote Radios

  1. Start by checking received signal strength. In the upper right corner, the number shown with a negative sign is the RSSI. A normal RSSI should be between -40 and -100 or so, with a higher number closer to the transmitting radio, and a lower number farther away. During normal operation the RSSI will likely change between a higher number, such as -60 and a low number (typically -120 or below).
    1. If the number stays low (below -100), the radio is not receiving a signal over the air, which indicates the frequency on the base radio and remote radio is not matching, or the base radio is not transmitting. Check and program the frequency on both radios.
  2. If the signal strength is high (above -100), or changing between a high and low signal, the next step is to check the RD light, which should be blinking. If it isn’t, this indicates a settings mismatch (the radio hears a signal, but can’t decode it). Check and program the 3 other settings (Channel Spacing, Radio Compatibility, Error Correction/FEC).
  3. If the RD light is blinking, but your data still isn’t making it through, check the Baud Rate on the receiving radio (in the “Port 1” menu), and ensure it matches the settings on the device attached to the receiving radio.

Further Troubleshooting

The above steps cover the most common issues seen when setting up a Satel radio system. If the instructions don’t address your situation, or you are unsure how to match settings on a Satel-compatible device, such as a radio from another manufacturer, or via 3rd party configuration software, please contact us.